Figma · Development plugin
Selection PNG & SVG Export
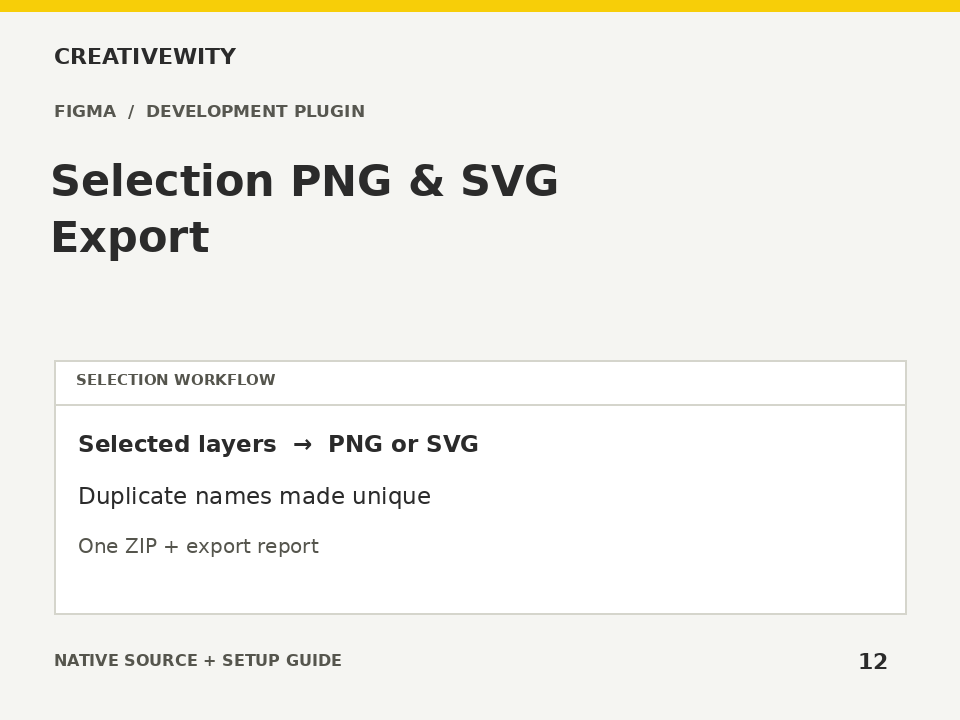
Export selected layers as PNG at 1×–3× or SVG and collect the results in one locally generated ZIP.
Download ZIPThis page is a setup guide; the tool runs inside Figma.
What it does
Prepare named PNG or SVG assets from a selected Figma deliverable set without changing the design.
Install
Use the Figma desktop app. Create a new local development plugin for Figma Design with a UI, then keep its Figma-generated ID. Open SETUP.html locally and enter that ID to generate manifest.json. Put it next to code.js and ui.html in the development plugin folder. Import/run that final manifest from Plugins → Development. No build step or dependencies. The manifest template deliberately has no fake plugin ID. These are development sources, not a published Community plugin.
Use
- Set up the development plugin.
- Select up to 50 layers and choose PNG/scale or SVG.
- Export, then click Download export ZIP. Read EXPORT-REPORT.txt for any skipped or failed layers.
Scope and limits
Selection only: parent and child selected together export separately. PNG supports 1×, 2× and 3×; SVG outlines text via Figma where supported. Duplicate filenames are made unique, including case-only collisions. Limit: 50 selected nodes, 32 MiB encoded assets, 16,000 px per raster side. Unsupported nodes are reported; a partial ZIP explicitly includes a failure report. No artwork or export presets are changed.
Verification
Validation: JavaScript syntax, mock-host behaviour and package integrity are checked. Native execution in Figma is not certified; the Adobe applications and a signed-in Figma editor were not available in the build environment. Check the included manual checks in your installed app.